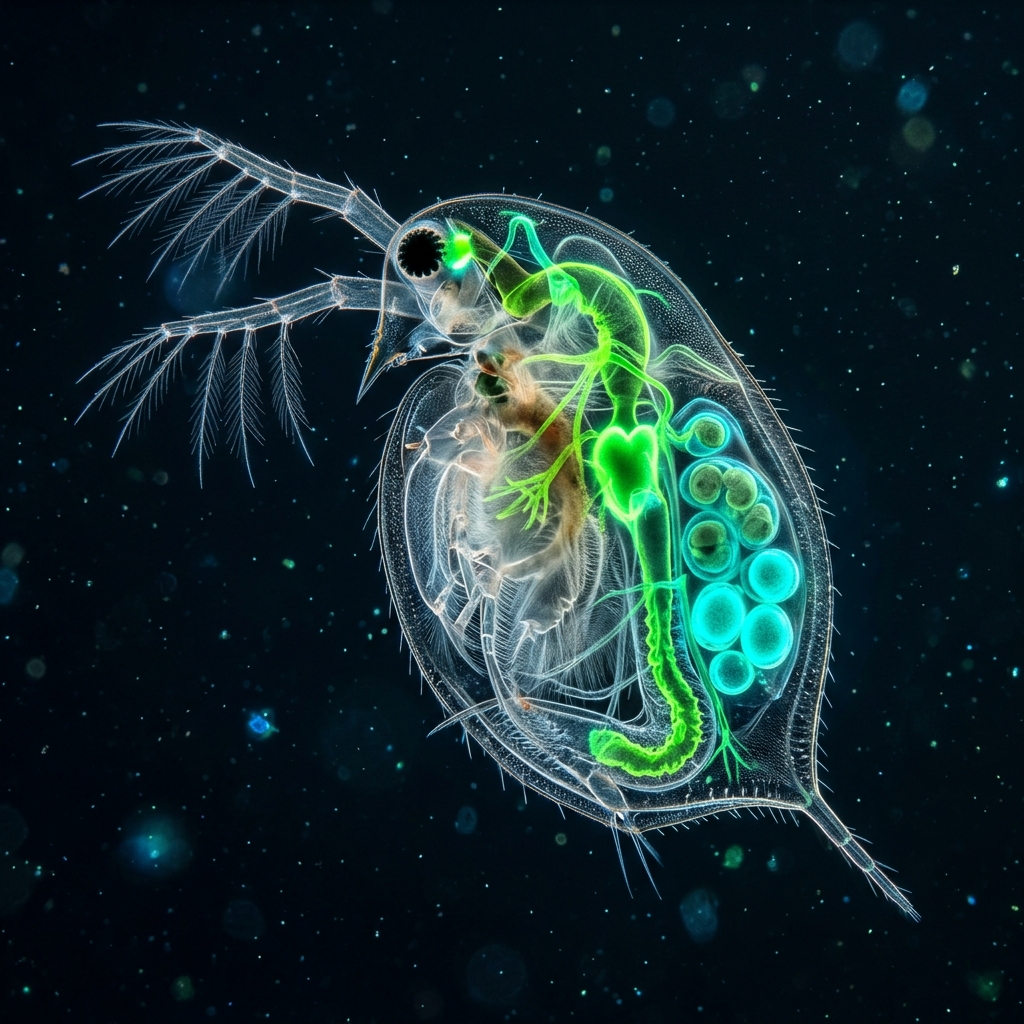
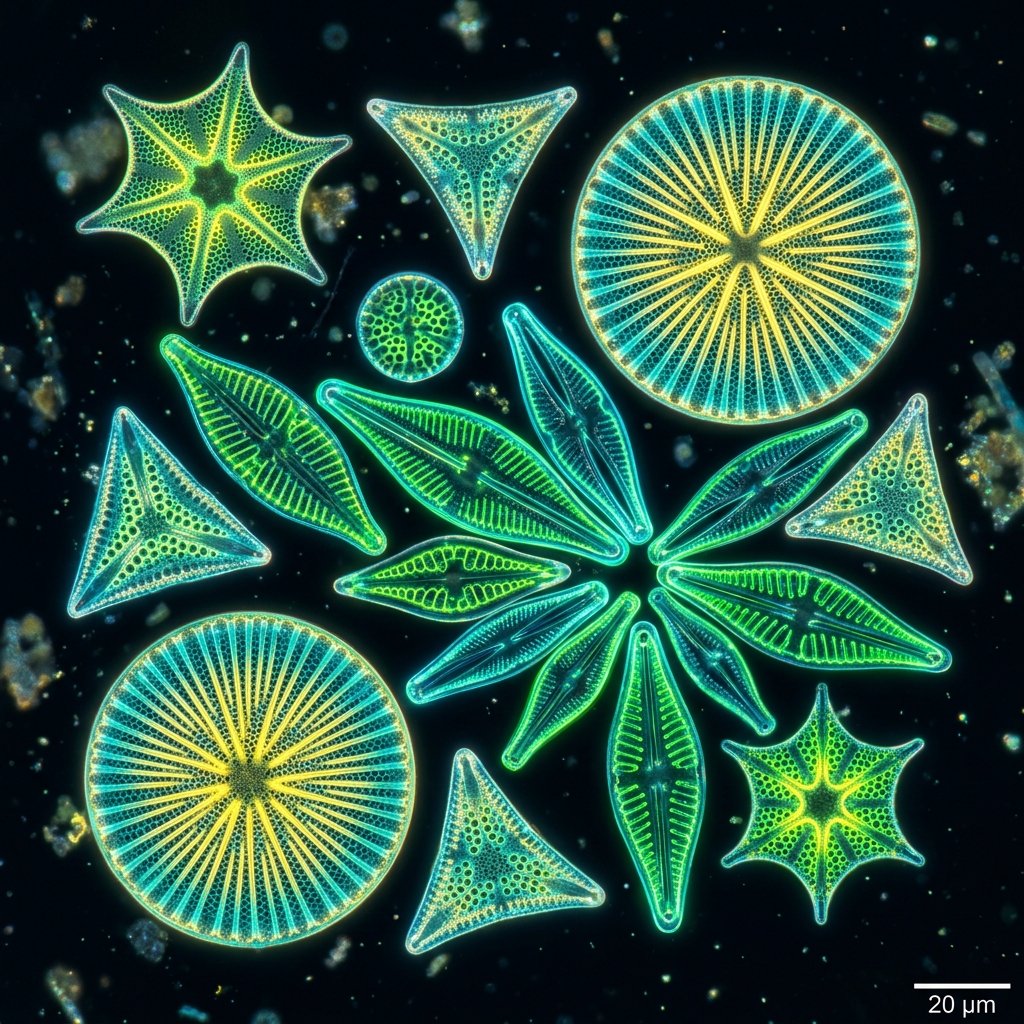
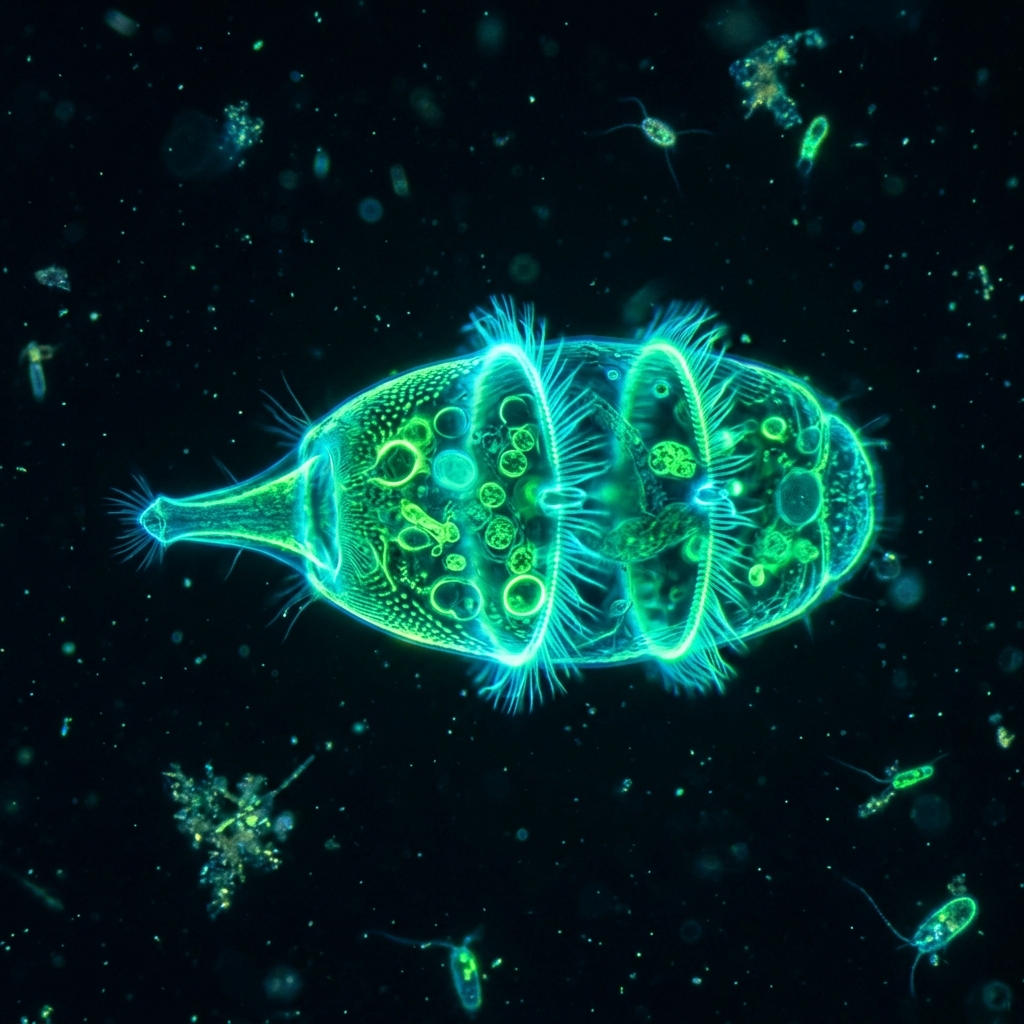
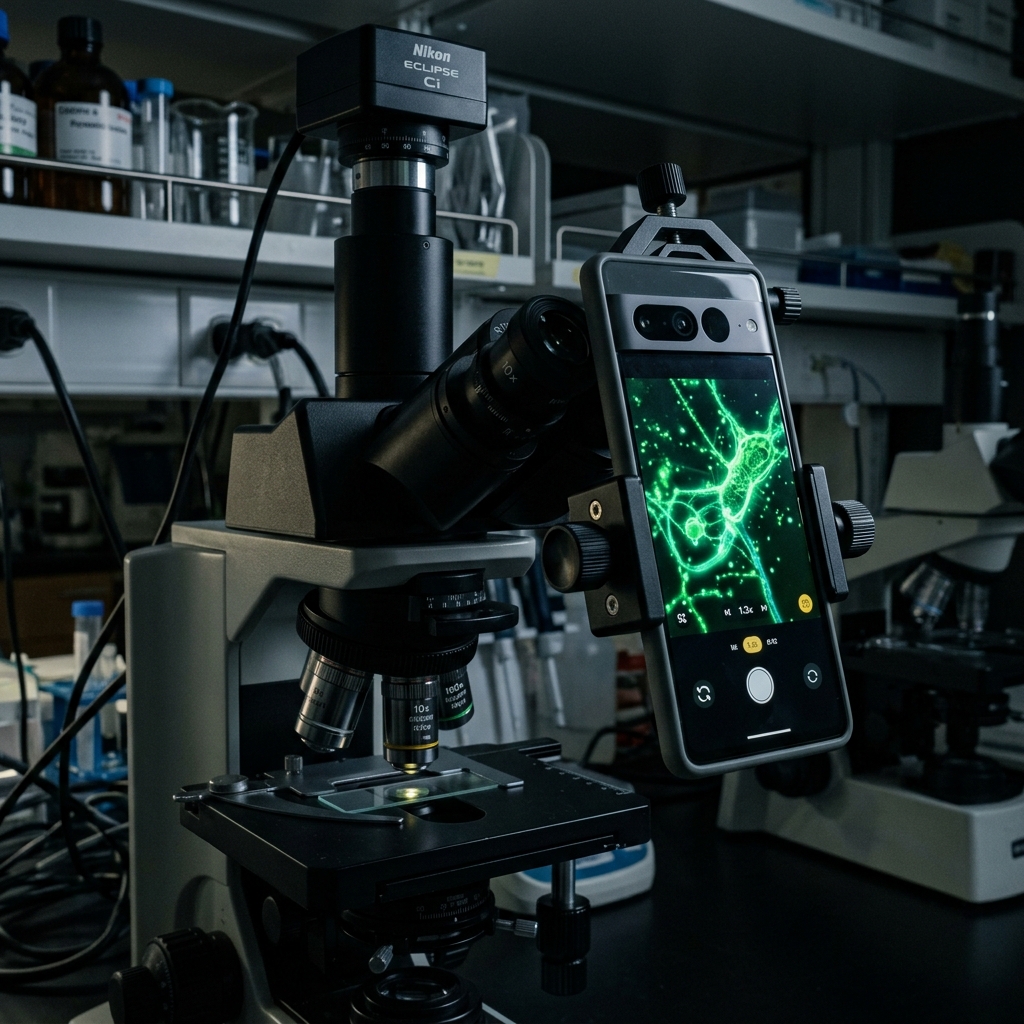
 Figure 1: Precise sampling method targeting "extreme high-density bio-spots" like shoreline fallen leaves, floating plants, and bottom sediments (*Image is for illustrative purposes only)
[!NOTE] *All microorganism images used in this article are 3D CG illustrative images.
On a sunny weekend, as you walk around an old park pond or along a trickling stream, have you ever wondered: “What kind of unknown life is wriggling in this water?” Even without expensive professional plankton nets or scientific water samplers, you can capture an incredibly diverse array of microscopic creatures (paramecia, tardigrades, water fleas, rotifers, diatoms, etc.) indefinitely using just empty plastic bottles and dollar-store spoons.
Here, we reveal the “sampling and mud hacks” used by professional fieldworkers to catch unknown plankton with extremely high success rates and concentrate them at home for easy observation!
1. 90%+ Success Rate! The Three “Gold Spots” Where Plankton Congregate
Simply scooping up clean, clear open water often results in finding nothing under the microscope because the organism density is too low. The key is to target “turbid areas and gaps in obstacles” where organic matter and oxygen are abundant and sunlight is moderately filtered.
Spot A: Around the Roots of Floating Plants (Targets: Water Fleas, Amoebas)
Using tweezers, pick up floating water plants like duckweed or water hyacinth and vigorously shake their fine, hair-like underwater roots inside your plastic bottle. The gaps between these roots serve as prime feeding grounds and shelters for micro-creatures like water fleas (Daphnia) and rotifers, allowing you to shake off hundreds of organisms into your bottle with just a few flicks.
Spot B: The Sludge Under Fallen Leaves on the Waterbed (Targets: Stentor, Nematodes, Rotifers)
Gently scoop up half-decayed brown fallen leaves resting along pond edges or in still pools using your spoon. The slimy brown film adhering to the underside of these leaves, along with the surrounding light detritus, is densely populated with protists like Stentors and amoebas feeding on bacteria.
Spot C: Brown Moss on Sunny Concrete Walls (Targets: Tardigrades, Diatoms)
Using the tip of a spoon, gently scrape off the thin green or brown film from concrete riverbanks or stone fountain walls where water constantly trickles. These spots are home to massive numbers of diatoms (nature’s glass art) and the tardigrades (water bears) that feed on them.
2. The “Bottle Concentration Hack” to Decuple Your Catch
Collected water often contains large amounts of debris and sand, which can clutter your view under a microscope. To increase the density of your organisms and filter out clutter, try this “Light Trap Concentration Hack.”
Steps for Light-Based Auto-Concentration
- Place your collected bottle in a darkened room.
- Shine a bright, pinpoint light (like a smartphone flashlight) at just one spot near the water’s surface.
- Leave it for 30 minutes.
- Many planktonic organisms, such as Daphnia, Euglena, and Paramecia, exhibit positive phototaxis (they swim toward light). The organisms scattered throughout the bottle will gather in a dense cloud at the illuminated spot.
- Use a pipette or dropper to draw from this exact spot. This extracts a highly concentrated “micro-soup,” instantly turning your microscope slide into a bustling dance floor of life!
[!WARNING] Watch the Storage Temperature! If you tighten the cap on your collected bottle, the organisms will suffocate and die within a few hours. Always keep the cap loose or off, and store the bottle in a cool place away from direct sunlight (ideally 18°C–22°C / 64°F–72°F). Do not refrigerate, as the sudden cold shock will kill delicate freshwater plankton.
3. Embark on a Small Weekend Adventure
The muddy water of a common park pond transforms into an uncharted, epic jungle the moment you scoop it up and place it under a microscope. Why not pack a bottle and a spoon in your bag and go hunting for the microscopic neighbors hiding in your local nature?