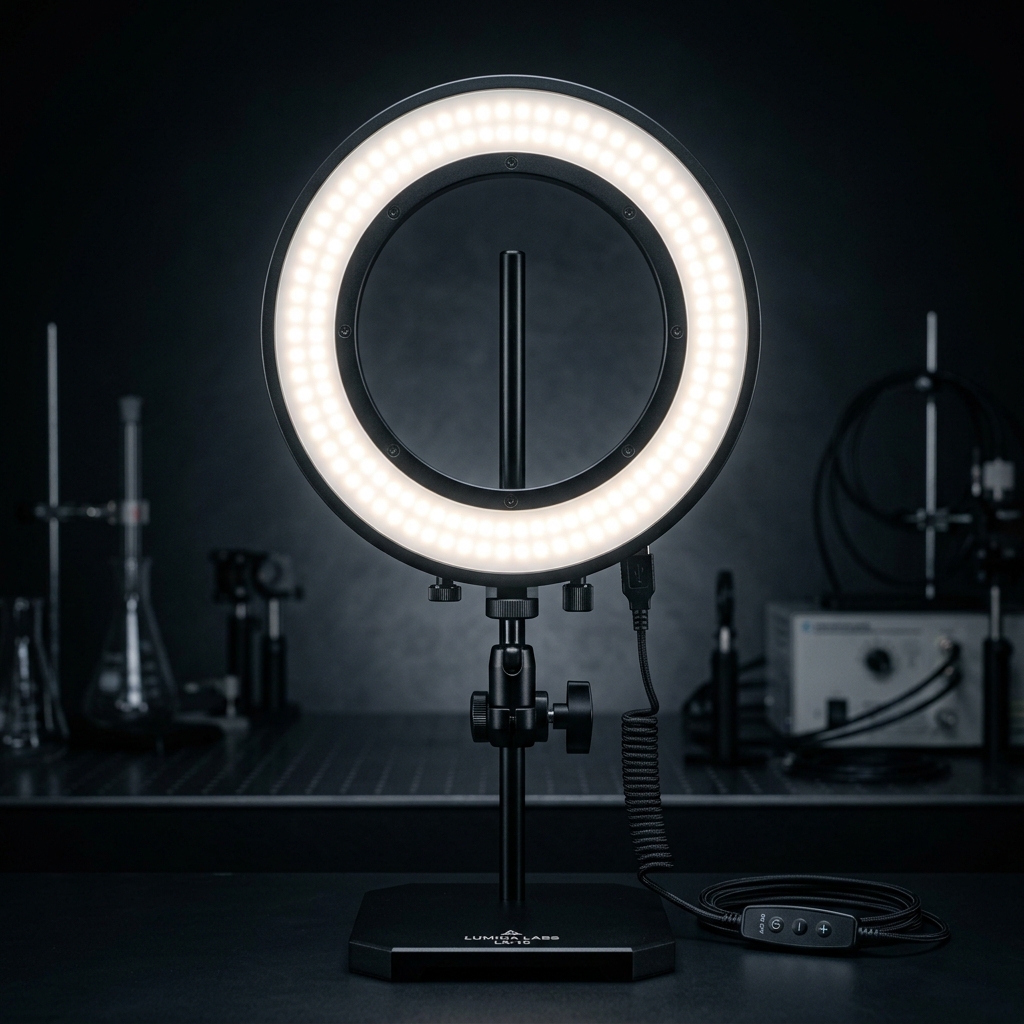
 Figure 1: A DIY lighting stage built by modifying a cheap USB ring light to control oblique light (*Image is for illustrative purposes only)
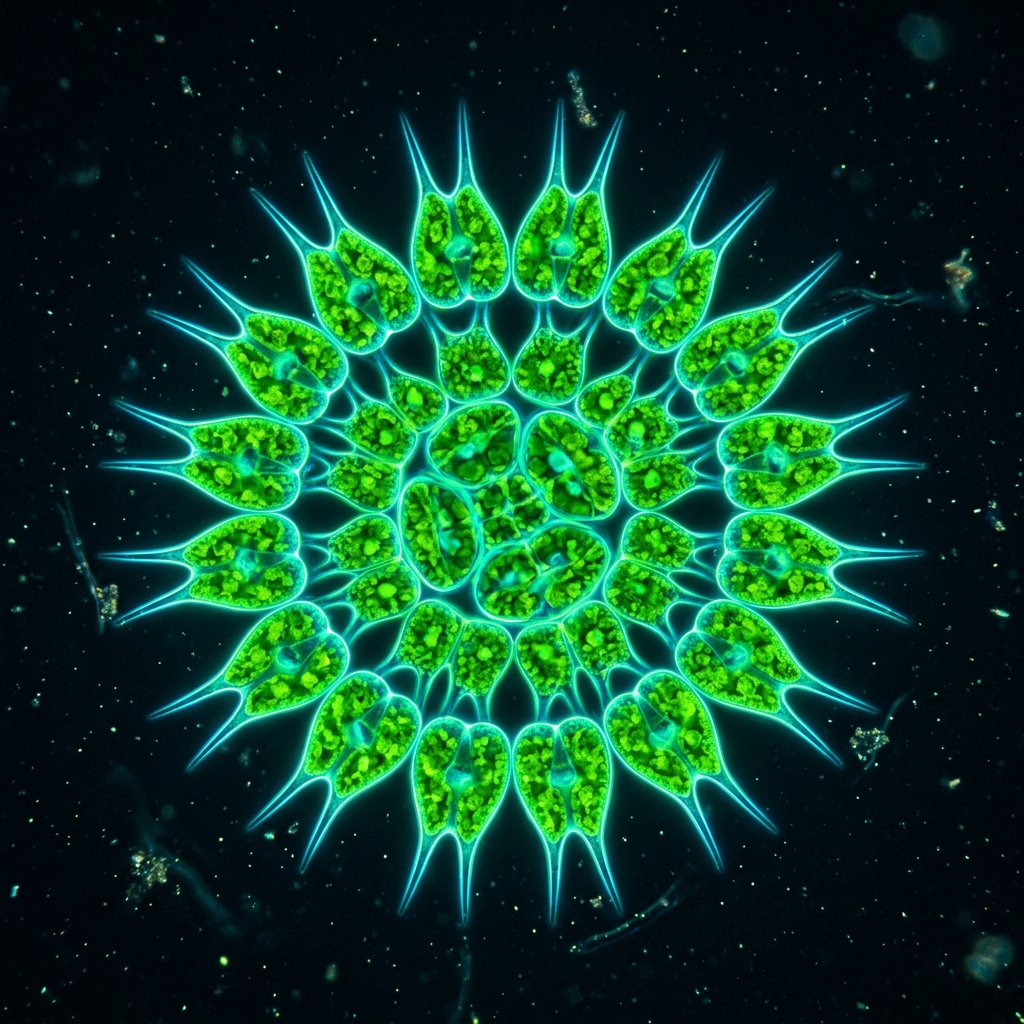
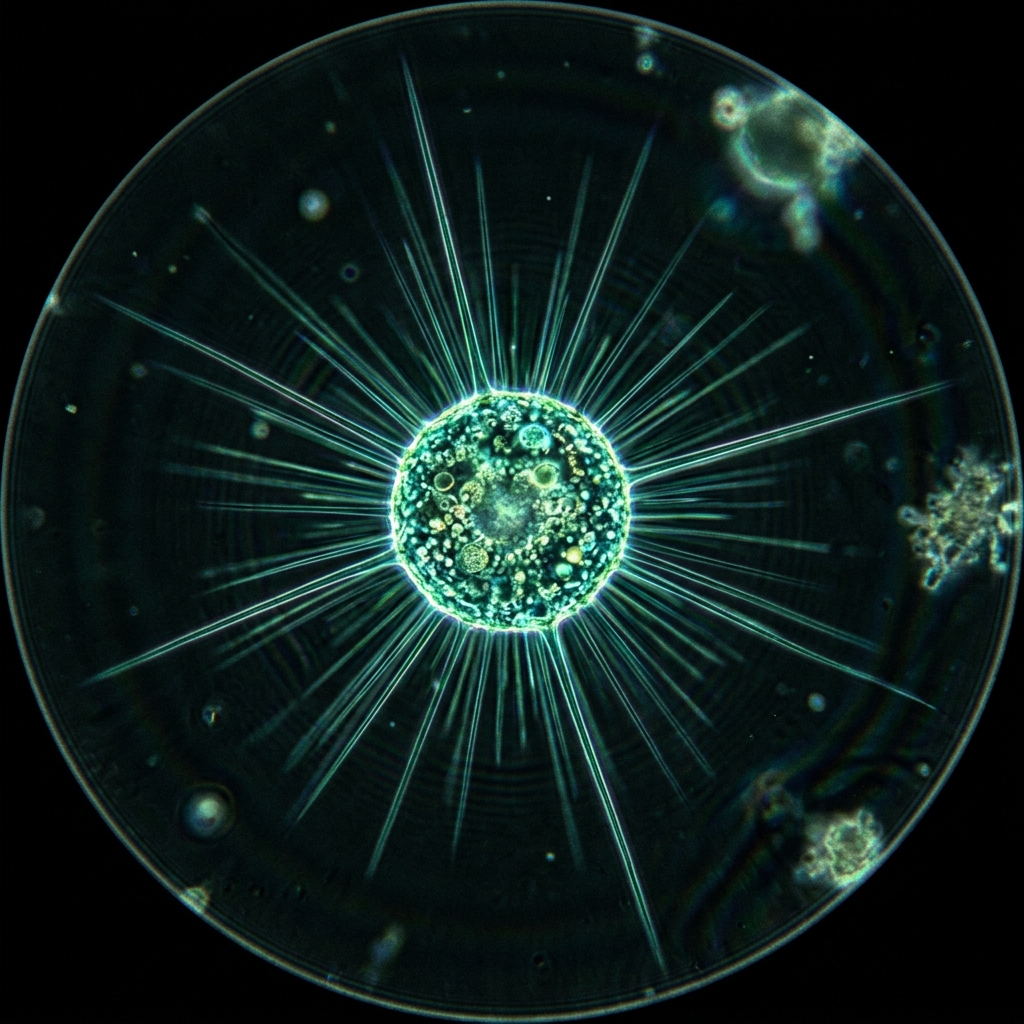
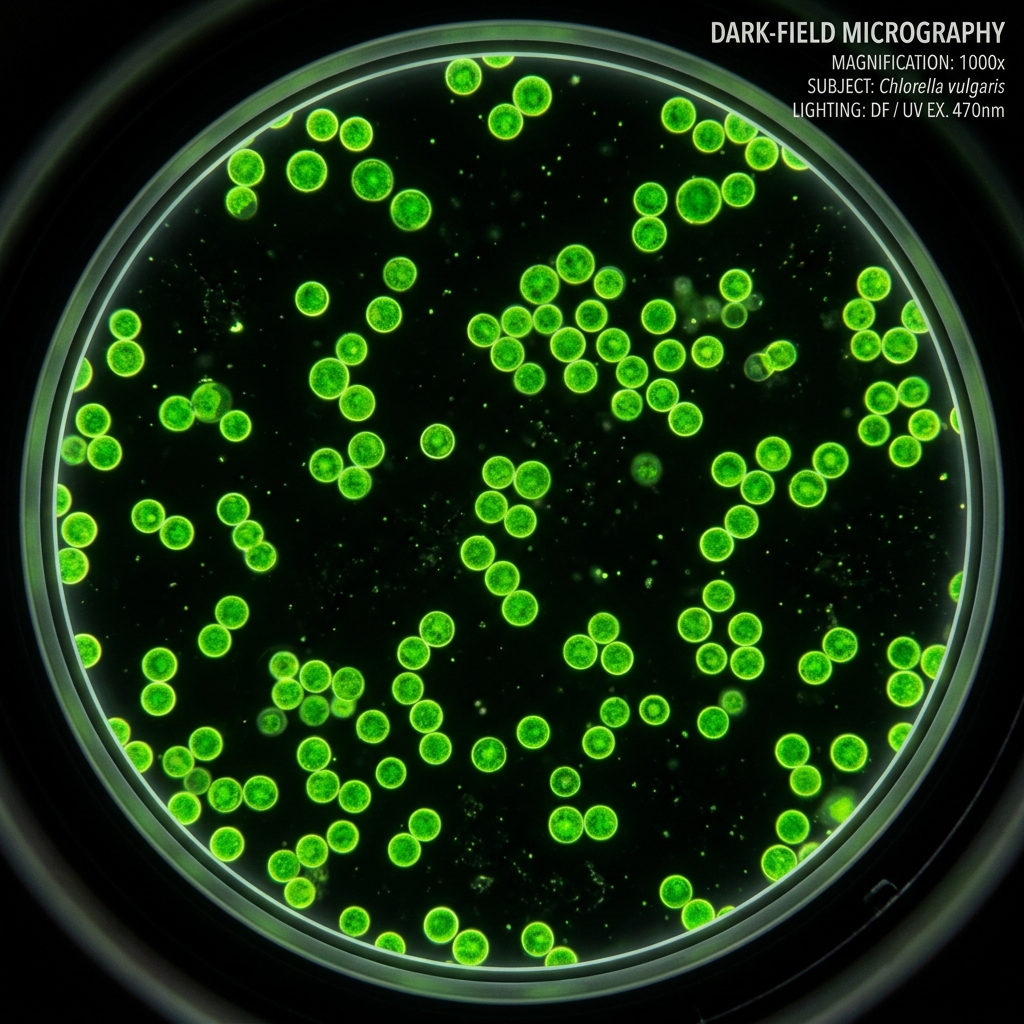
[!NOTE] *All microorganism images used in this article are 3D CG illustrative images.
When observing microorganisms under school or hobbyist microscopes, have you ever seen transparent, faint amoebas or paramecia swimming aimlessly in a bright white background? This illumination method is called “brightfield illumination.” While it is the most basic approach, it is poorly suited for capturing clean, high-contrast, and detailed images of highly transparent microscopic organisms.
Expensive professional research microscopes solve this by using specialized lighting systems. These include “darkfield microscopy,” which turns the background pitch black to make organisms appear self-luminous, and “polarizing microscopy,” which makes glass-like crystals and silica shells glow with brilliant rainbow hues.
Amazingly, you can replicate these advanced lighting effects using cheap, everyday materials from a dollar store! Here are the lighting hacks that will dramatically elevate the quality of your micro-photography.
Hack 1: DIY Darkfield Illumination – Micro-life Glowing in Pitch Black
The principle of darkfield illumination is simple: block direct light from coming straight up through the slide, and allow only oblique light (light coming from the sides) to strike the specimen. The specimen scatters this light, making it look as if it is glowing like a neon sign against a dark background.
Materials Needed
- Black construction paper (or a thin black plastic sheet)
- Compass cutter (or circle cutter)
How to Make a Darkfield Filter
- Cut the black construction paper into a circle matching the diameter of your microscope’s condenser or light outlet (e.g., 30 mm).
- Leave a smaller black circle (approx. 15mm–20mm in diameter) as a central “light-stop patch.” Bridge the remaining outer ring to the central patch using clear acrylic, transparent plastic, or clear tape (creating a donut shape where only the central circle is blacked out).
- Place this filter on top of the microscope’s light source.
[!TIP] Max Out the Light Intensity for Best Results! Because the darkfield filter blocks all direct light, the field of view becomes extremely dark. Turn your microscope’s LED source to its maximum brightness, or shine an ultra-bright external source (like a smartphone flashlight) from an angle underneath. This will illuminate even the tiny hair-like cilia of transparent paramecia, making them glow like stars in space.
Hack 2: DIY Polarized Microscopy – Turning Glass Crystals Iridescent
Polarizing microscopy uses two filters that only let light vibrating in a specific direction (polarized light) pass through. By placing these filters at cross-angles, variations in the optical refraction index of microstructures are converted into interference colors. This visualizes transparent features in vivid gradients like stained glass. It is incredibly effective for capturing diatom shells, starch grains, and plankton husks.
Materials Needed
- Two sheets of liquid crystal polarizing film (sold as screen protectors or polarizing filters)
Polarized Setup Steps
- Position the Polarizer: Place the first polarizing film over the microscope’s light source (under the slide).
- Position the Analyzer: Place the second polarizing film inside the eyepiece or right in front of the smartphone’s camera lens.
- Create the Crossed Polars State: Look through the eyepiece and slowly rotate the second polarizing film. Once it reaches a certain angle, the background light will be blocked completely, turning the field of view pitch black. This is called the crossed polars (extinction) state.
- Observation: Place a slide containing diatoms (see Silica Mix Recipe for Growing Diatoms with Glass Shells for culturing details) or crystals on the stage. The normally transparent silica shells or crystalline structures will transform into intense psychedelic colors (yellows, magentas, cyans) due to light interference, glowing like stained glass in a dark cosmos!
3. Lighting Redefines the Future of Micro-photography
Even with a budget microscope costing only a few dozen dollars, applying these simple hacks allows you to capture highly artistic, contrast-rich images with your smartphone—matching the look of academic textbooks and reference guides.
A few cheap polarizing filters and scraps of paper can transform your desktop microscope into a cutting-edge nano-optics art studio. Why not experience this magical lighting hack for yourself this weekend?