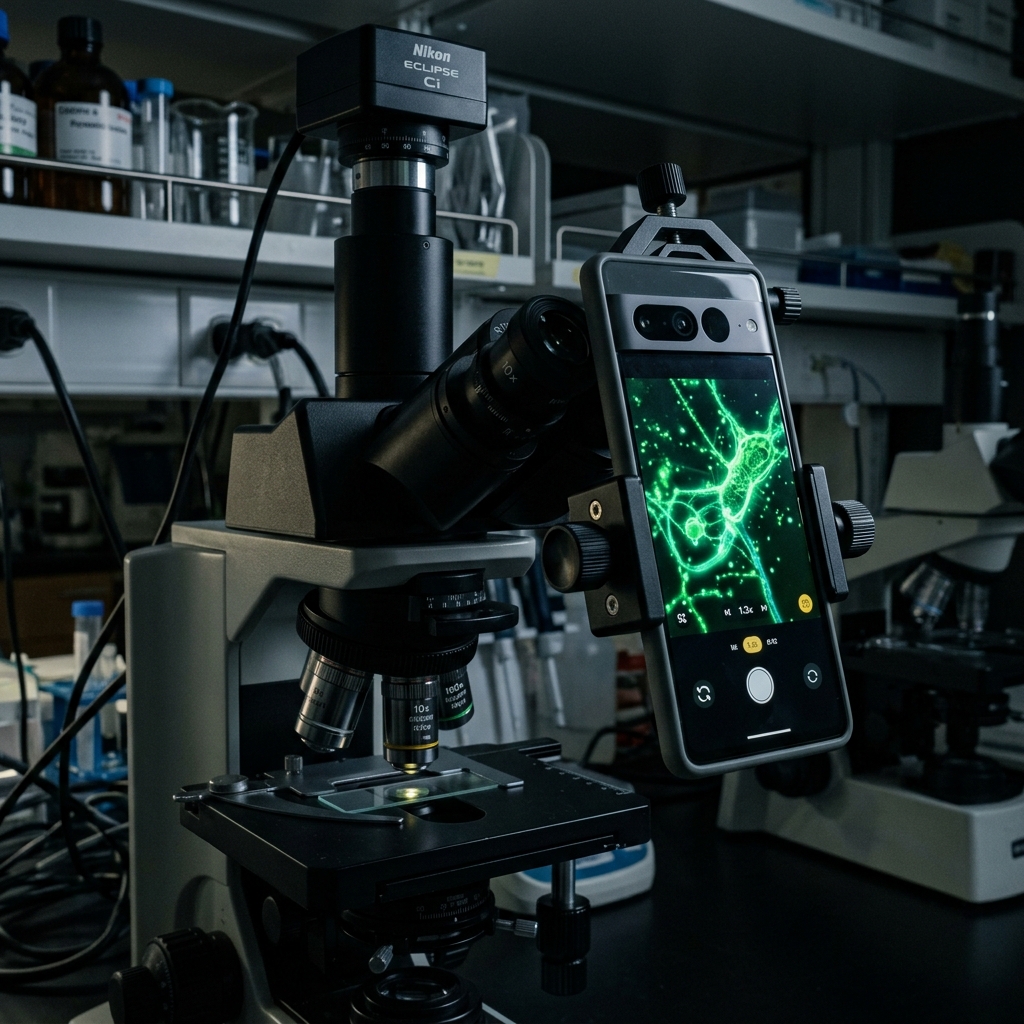
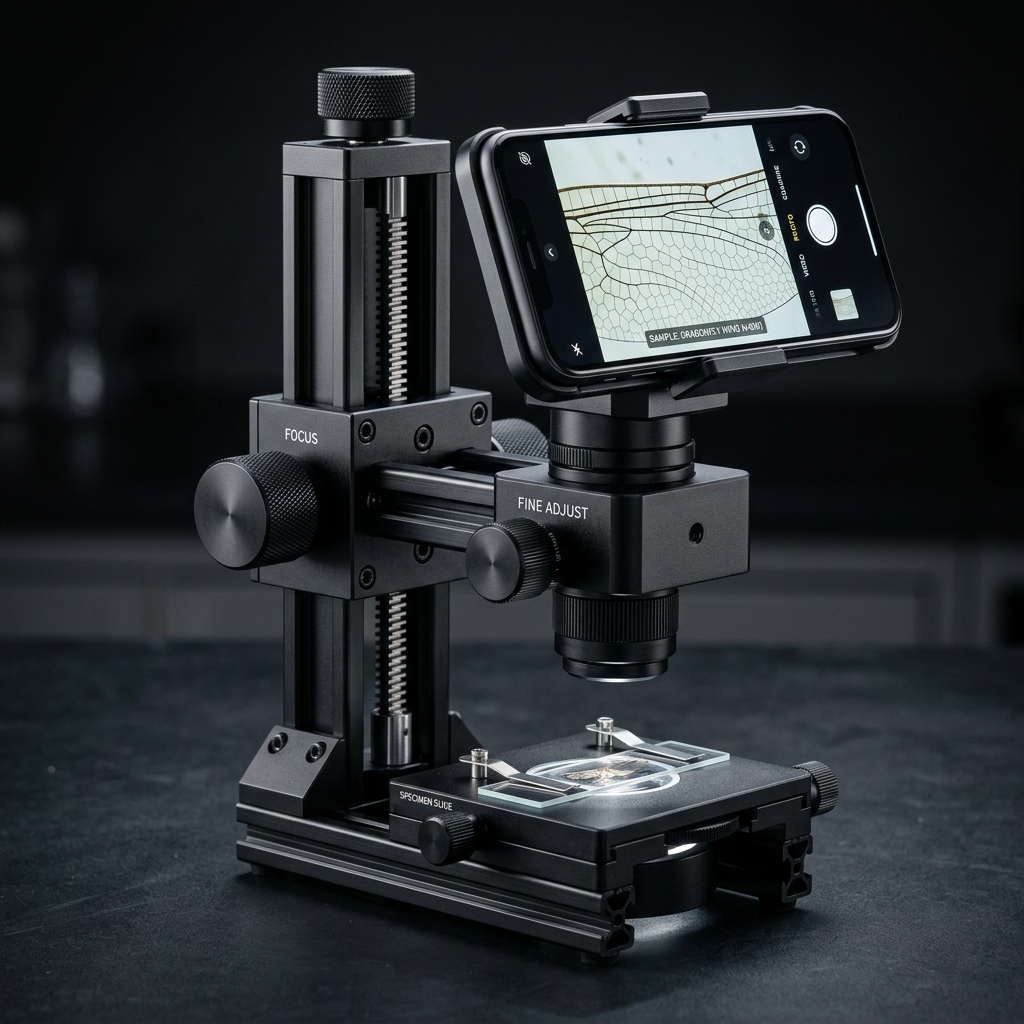
 Figure 1: The \"capillary staining method\" where a drop of stain is placed at the edge of the cover slip and slowly drawn through by touching absorbent paper to the opposite side (*Image is for illustrative purposes only)
[!NOTE] *All microorganism images used in this article are 3D CG illustrative images.
When observing transparent microorganisms swimming under a microscope, questions naturally arise: “Where is the cell nucleus located?” or “How is food digested in their tiny digestive vacuoles (stomachs)?”
Professional labs use hazardous chemicals and specialized biological stains to treat cells. However, obtaining and handling such reagents at home is difficult and unsafe. Fortunately, by using just three safe, common liquids you can buy at grocery stores or pharmacies, you can achieve professional-looking cell coloring and contrast enhancement. Here is a detailed guide on safe household staining techniques to elevate your micro-photography.
1. The Essential Staining Technique: The Capillary Staining Method
When staining microorganisms, dropping dye directly into the culture water will shock and immediately kill the organisms, staining the entire cell solid black and destroying all fine details. To avoid this, professionals use the “Capillary Staining Method.” This technique uses capillary action to pull the dye slowly across the slide, gradually increasing its concentration.
Basic Steps
- Prepare a standard wet mount slide with a drop of water containing the microorganisms and cover it with a cover slip.
- Using a dropper, place a tiny drop of the staining solution on the glass slide right against the left edge of the cover slip.
- Touch a small piece of folded paper towel or absorbent paper flat against the opposite right edge of the cover slip.
- As the paper absorbs water from the right, the dye from the left edge is drawn under the cover slip via capillary action. This allows you to observe and control the gradient staining under the microscope in real-time as the cells slowly absorb the dye.
2. Three Safe & Accessible Staining Liquids and Their Effects
Choose your liquid depending on which microscopic structures you want to target.
Liquid A: Methylene Blue Solution (Rating: ★★★)
- Where to find: Fish medication sold at aquarium stores (often labeled as Methylene Blue) or certain throat gargles.
- Effect (Blue Staining): Strongly binds to acidic components, staining the “cell nucleus” a deep blue. This is a classic stain, perfect for highlighting the large macronucleus of a Paramecium or the nuclei of plant cells.
Liquid B: Food Coloring (Rating: ★★☆)
- Where to find: Baking section of any supermarket (red, green, blue, or yellow).
- Effect (Observing vacuoles and feeding): Perfect for color-tracking the feeding process of microorganisms.
- Feeding Hack: Feed dry yeast mixed with a tiny amount of red food coloring to your Paramecium or rotifer culture. The organisms will eat the red-stained yeast cells, forming bright red food vacuoles (stomachs) one after another. You can capture a full-color, real-time video of this dynamic digestive journey as the red vacuole travels through their bodies!
Liquid C: Rubbing Alcohol / Nail Polish Remover (Rating: ★★☆)
- Where to find: Drugstores or dollar stores.
- Effect (Fixation): If microorganisms swim too fast to focus on, draw a drop of alcohol under the slide before staining. This instantly coagulates the cellular proteins, stopping all movement (known as “fixation”). The organisms freeze in place without destroying their delicate cilia, letting you capture high-resolution sharp stills.
[!WARNING] Important Note on Fixation Fixing a specimen with alcohol or nail polish remover is lethal to the organism. Only apply this step at the very end of your observation session once you are ready to take high-resolution detail photos.
3. The Joy of Capturing Microscopic Color Palettes
Watching cell nuclei or vacuoles—normally invisible and transparent—absorb beautiful blue or red gradients and reveal sharp details is the peak of microscopic art. Staining is a safe, simple technique that turns your field of view into a colorful scientific canvas. Why not try your hand at this color science this weekend using simple items from your kitchen and pharmacy?